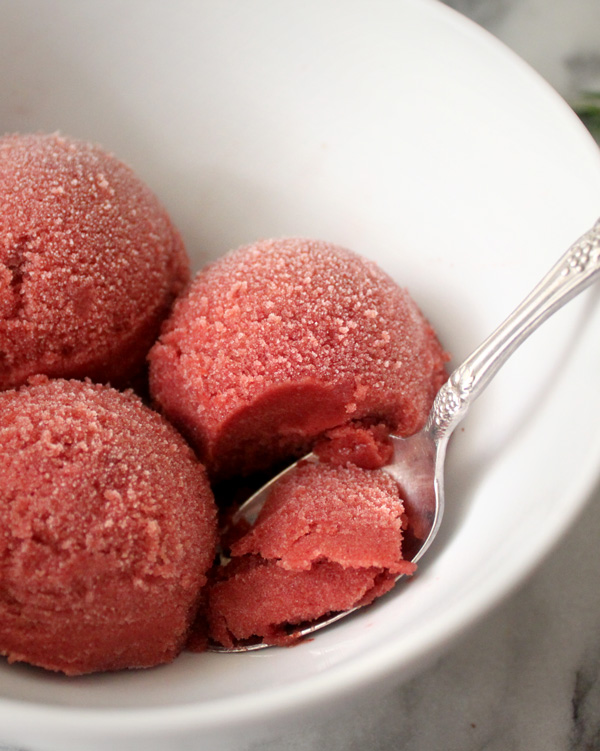
If you love rosemary as much as I do, then you’ll love this delicious cherry rosemary and lemon sorbet. There is no sugar added or needed! I used the frozen pitted cherries from Trader Joes. They are dark and sweet cherries, so you won’t get any tart flavor. I do like a bit a tartness, so I added half a lemon. Honestly, a little bit of lemon makes everything from dinner to dessert taste a tad fresher (and better!). Honestly, I was eating the frozen cherries plain, as in straight out of the bag, since they tasted so delicious.
I suggest waiting 10-15 minutes once it comes out of the freezer to make it easier to scoop. If you make a lot of ice cream or sorbet, I recommend the Tovolo Ice Cream Tub, which makes it easy to get beautiful scoops. The container is long and thin, which gives you more room to scoop your sorbet. Plus, they are BPA free. I also use the OXO Trigger Ice Cream Scoop, which easily releases the ice cream after you scoop it. Seriously, I don’t know why I waited so long to get this product. It’s been a godsend for food photos.
Finally, I wanted to give a shout out to my favorite Rosemarie! Hope you feel better! Wishing you well, while eating your namesake.
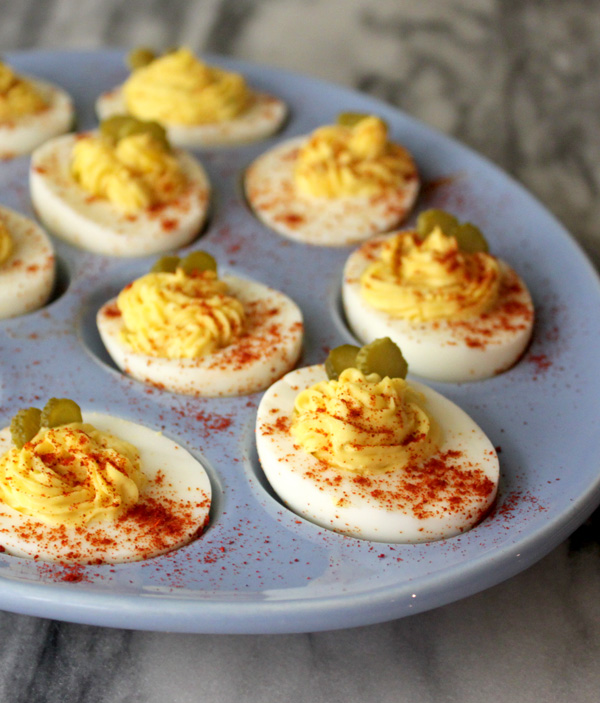
I’ve finally done a deviled eggs post! I feel like now I’m officially a paleo food blogger, since every paleo blogger or cookbook contains at least some version of a deviled egg recipe. I garnished mine with extra fine cornichons (aka french style gherkins). I also used my favorite Coconut Oil Mayo recipe, that also happens to contain olive oil and a good deal of lemon. Delish!
For boiling the eggs I followed this post, How to Make the Perfect Hard Boiled (Hard Cooked) Eggs by Getty Stewart. The only difference is that I like to crack mine on the side lengthwise, instead of on the wide end where the air sac is. I don’t know why but starting in the middle works better for me.
Photo by State Farm, adapted by Healing and Eating.
I recently got a Hospital Fire and Life Safety certification for my part time photography job, which is photographing newborns. Turns out, a lot of what I thought I knew about fire safety was wrong. While doing this course, I learned quite a bit about how to respond appropriately to all types of fires, including grease fires. Knowing how to calming handle a fire is important for your own health, and the health of those around you.
Here are a few common sense tips about grease fires:
1. DON’T ADD WATER. This will create a bigger fire that splashes everywhere. Each of the droplets that splash will carry their own tiny fires and spread everywhere.
2. DON’T MOVE THE PAN. Even if you think you have great balance, don’t risk the burns. Don’t even move it to a different burner, and especially not to the sink. Don’t attempt to throw it outside over concrete. Liquid fire can easily spill, tip over, or splash you, which will hurt a lot, and probably make you spill and splash yourself even more.
3. DON’T USE THE EXTINGUISHER. This can also cause splashing, which can send you to the hospital.
4. DON’T THROW STUFF OVER THE FIRE. Baking soda and flour are sometimes used to eliminate the oxygen, but they too can splash you. Especially, if the flour or baking soda has gotten clumpy.
5. DO TURN OFF THE HEAT. This seems stupidly simple, but if you get rid of the heat the fire will gradually reduce to nothing. It takes heat, oxygen, and fuel to make a fire. Without one of these elements, there will be no fire. The fire will also burn through the fuel (or grease), and then there will be no fire.
6 DO SLIDE ON A LID FROM THE SIDE. This will cut off oxygen from the fire, and if you slide it on carefully from the side, then you don’t trap a ton of oxygen in when you put the lid on.
7. DO CLOSE THE DOOR. If the fire starts getting out of control. Evacuate calmly and close the door on the way out. If you can’t reach your door, close as many doors between you and the fire and signal (yell or wave a sheet) to firefighters that you are inside. You have at least twenty minutes for a fire to get through a normal door, and an hour and a half for a fire door. Don’t unnecessarily injure (or kill) yourself by jumping (or unsuccessfully climbing) out of your building.
8. DO OPEN A WINDOW AFTER YOU CLOSE A DOOR. The smoke inhalation is usually quicker and deadlier than the fire. If you are unable to evacuate, close the door and open a window to help reduce smoke.
9. DO PAY ATTENTION TO YOUR SURROUNDINGS. Make a mental note of where the stairs and exits are in the areas you frequent. Pay attention to where you are specifically, such as the address, floor, how many doors down, etc. so in case of an emergency you can give clear instructions.
10. DON’T GET COMPLACENT OUTSIDE. There maybe debris falling, and the busy streets and distracted drivers can be more dangerous to your health, than the fire.
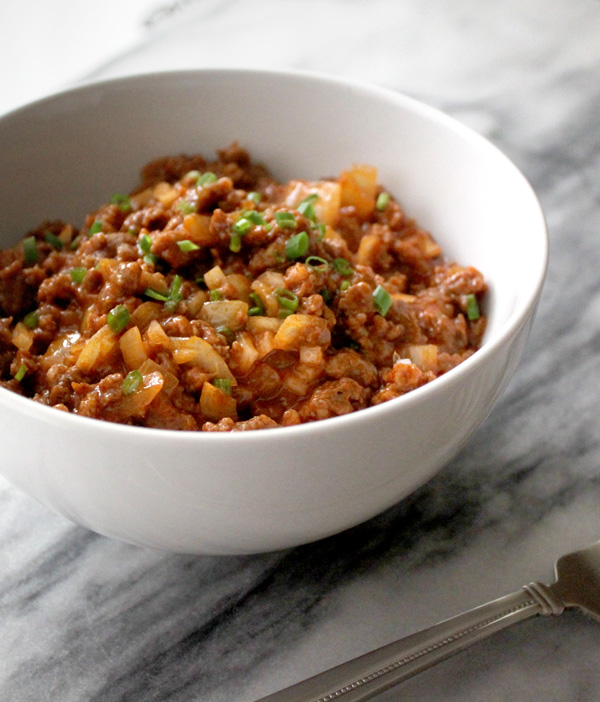
This chorizo chili has a ton of flavor, and is really easy to make. I used pureed cauliflower as a secret ingredient, (which is not so secret now) to thicken up the chili, without spending a ton of time on the stove top. It also allows you to sneak in even more nutrition into this recipe. If you’re worried about the chili tasting like cauliflower, don’t be. The seasoning from the chorizo will overpower the delicate flavor of the cauliflower.
This chilli would taste great over sweet potato hash or an omelet, for an awesome breakfast, or mix it with some spaghetti squash for a Mexican style paleo pasta. You could also add some homemade bone broth and turn it into a soup. This makes great leftovers, so don’t be afraid to make a lot!
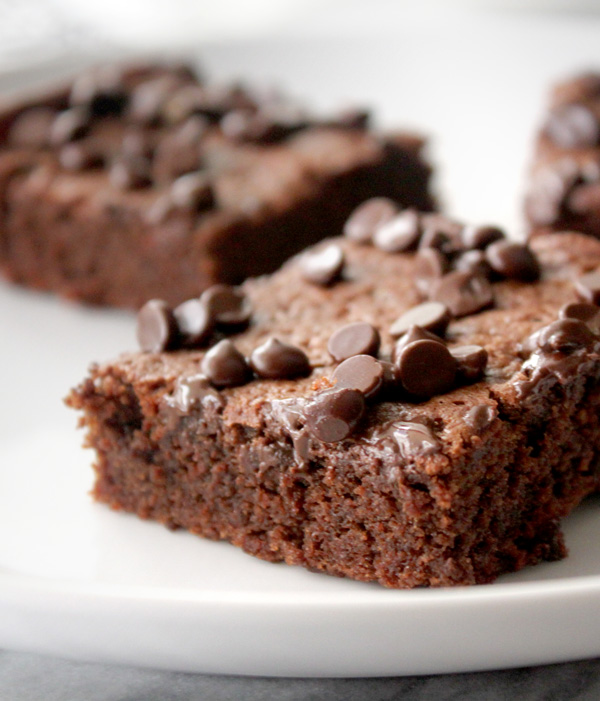
So, I know paleo brownies aren’t exactly healthy, but these are made without grains and dairy, and taste just like the real thing. I’ve been craving brownies lately, and I wanted to try to make own, instead of spending a ridiculous amount of money at Whole Foods. I cooked these for twenty-five minutes, but if you want them on the gooey side opt for twenty minutes. I’ve done them both ways. Cook them longer and they will taste like a fluffy chocolate cake. Under cook them, and you’ll be left with a thicker denser center, that’s soft and gooey. Sound delicious? Well, both ways are.
Instead of garnishing them with some powdered sugar on top, I sprinkle some mini Enjoy Life chocolate chips. They are so cute, and if you eat the brownies warm, the chocolate chips start to melt, and then you can lick melted chocolate off your fingers. Yummy!
(optional) ¼ cup of Enjoy Life mini chocolate chips (semi-sweet)
Instructions
Preheat oven to 370 degrees fahrenheit.
Mix dry ingredients in a food processor. Pulse a few times.
Mix wet ingredients in a separate bowl. (Palm oil and honey may not mix that well, do your best, and it will get mixed in the food processor)
Add wet mixture to food processor.
Line an 8x8 cake sheet with parchment and bake for 20 to 25 minutes.
(optional) Add mini Enjoy Life chocolate chips to top of brownies in last 5-10 minutes of baking.
Let brownies cool before cutting into squares.
Refrigerate brownies for at least two hours, preferably overnight. I don't know why, but it improves the texture, even if you under or over cooked them.