Vegan Buttercream Frosting

vegan buttercream

This vegan buttercream frosting is an easy and delicious was to decorate your holiday sugar cookies. I wanted to recreate a dairy-free version of the store bought frosting my family and I used to decorate holiday cookies with. This recipe only requires a few ingredients. I used earth balance vegan butter sticks, vanilla extract, confectionery sugar, and vanilla almond milk (I prefer almond breeze vanilla almond milk).

This frosting acted like real buttercream frosting too and hardened a bit when I left it out overnight. Just to be careful, I froze my frosted cookies for ten to fifteen minutes before stacking them between parchment paper and storing them in my tupperware in the freezer. I like to prepare for holiday festivities ahead of time, by stocking up my freezer with Christmas cookies. When it comes to holiday cooking and baking, I try to make as much as possible in advance. Luckily, cookies freeze well and can be stored up to three months.

Vegan Buttercream
 
Prep time
Cook time
Total time
 
Author:
Ingredients
  • 1 stick or ½ cup of vegan butter (earth balance)
  • ½ tsp vanilla extract
  • 2½ cups of sifted confectionery sugar
  • 2 tbsp of vanilla almond milk (almond breeze)
Instructions
  1. Soften vegan butter by letting it get to room temperature.
  2. Sift powdered sugar into a large bowl.
  3. Whip vegan butter in a stand mixer until fluffy and gradually add powdered sugar.
  4. Then, add vanilla extract and almond milk until it has the desired consistency and thickness.
Tender Beef Soup

tender beef soup

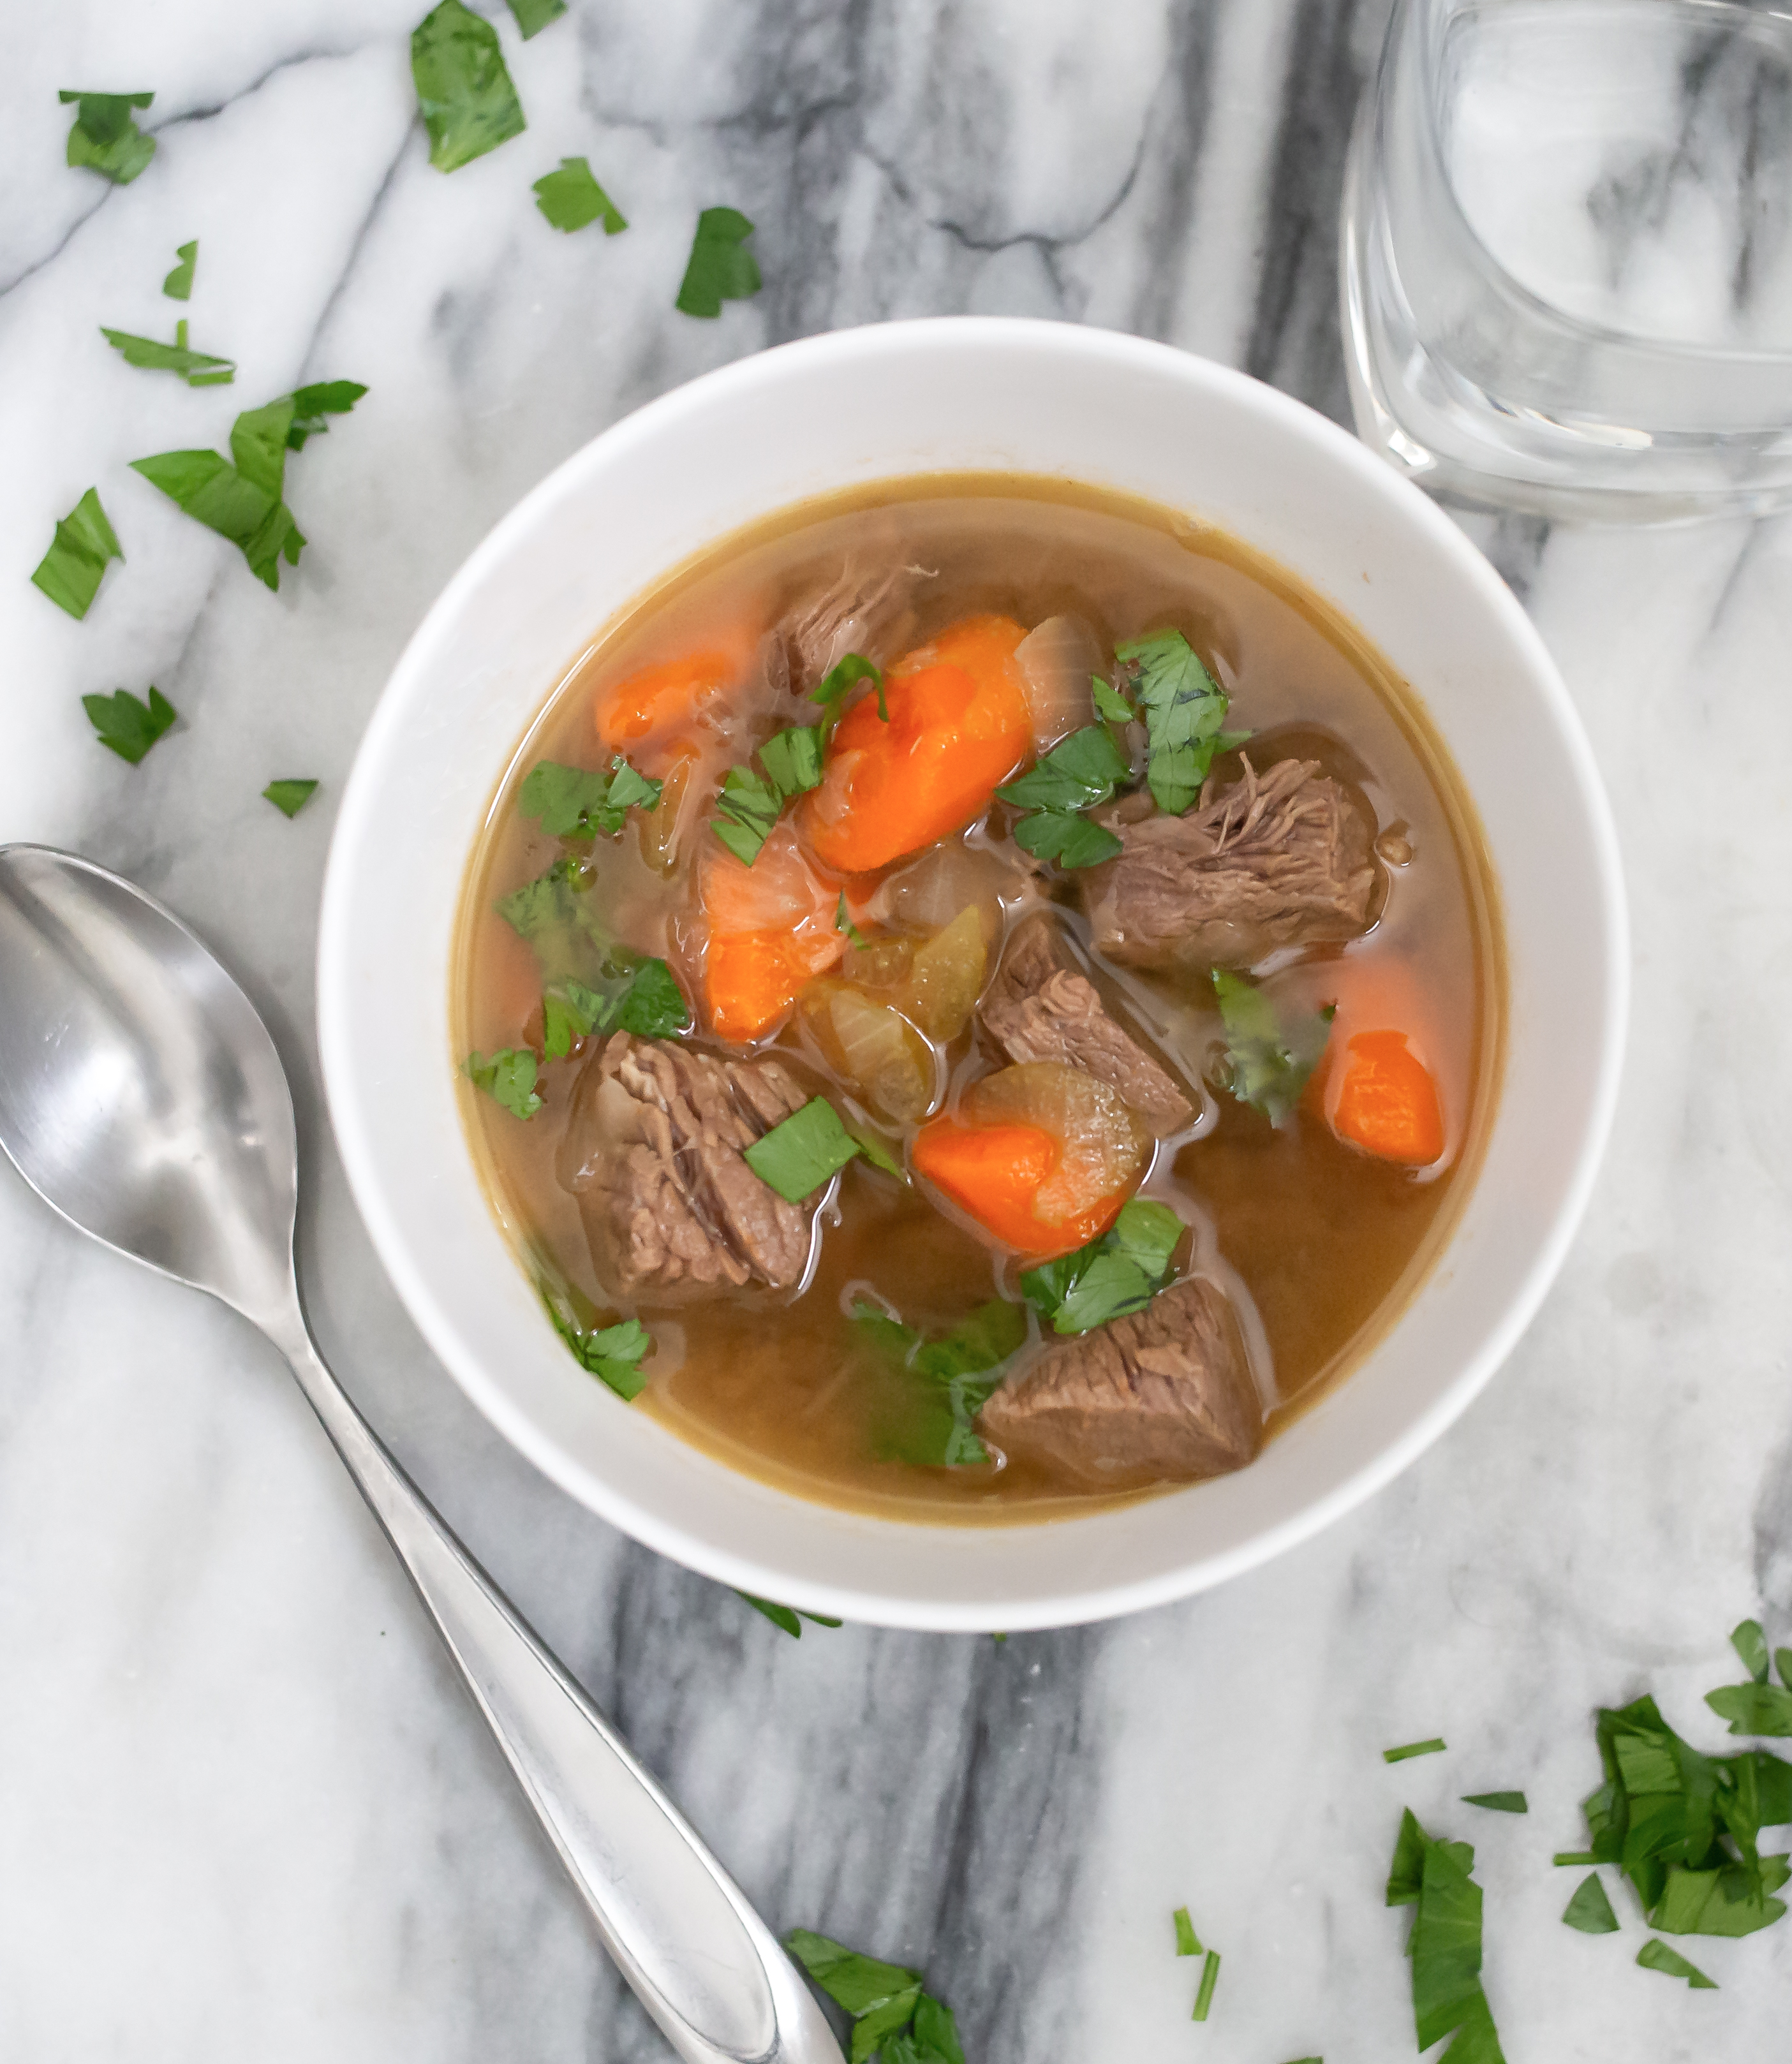
This tender beef soup recipe took a long time to get right. I’ve struggled with tough beef in my soups, stews, and curries. So, I’m finally happy to say the trick to tender beef soup is to simmer it long enough, for about two and half to three hours and use beef chuck instead of stew meat. I trimmed the hard fat off the beef chuck and chopped it into mostly even size pieces. It doesn’t have to be perfect for it to be tender and delicious.

Since this soup takes so long to cook, add the vegetables towards the end depending on how soft you prefer them. For starchy vegetables such as potatoes, cook them separately and add them at the end. Otherwise, they will disintegrate into your soup and you will have a beef soup that tastes like potatoes instead of beef. Yes, I’ve unfortunately had this happen to me.

Since my husband doesn’t like the stringy texture of celery, I chop it super thin and add it only when the beef is done cooking. It should only take ten to fifteen minutes to cook, or less if you like some crunch.  I use a celery rib to flavor the soup while the beef is cooking and fish it out when done.

Tender Beef Soup
 
Prep time
Cook time
Total time
 
Author:
Serves: 4
Ingredients
  • 2 cartons of beef broth
  • 2-2.5 lbs of beef chuck
  • 4-5 carrots peeled and chopped
  • 1 cup of celery thinly sliced
  • 1 celery rib
  • 1 small white onion chopped
  • 1 tbsp of tomato paste
  • 1 tsp minced garlic
  • 1 tbsp of olive oil
  • sea salt to taste
  • (optional) parsley to garnish
Instructions
  1. Chop beef chuck and remove as much hard fat as possible then season with a little salt and sear on one side with olive oil.
  2. Remove meat from the pan once you see a little browning on one side.
  3. Add broth, onions, garlic, celery rib, tomato paste and meat to large pot and simmer for at least one hour and a half.
  4. Then add carrots, and let soup simmer for forty-five minutes to one hour or until carrots are cooked.
  5. Check beef to see if it shreds easily and is tender. Add sea salt to taste if necessary and fish out celery rib.
  6. Then add thinly sliced celery and let it cook for an additional ten to fifteen minutes.
  7. (optional) garnish with fresh chopped parsley

Easy Cornbread

easy cornbread

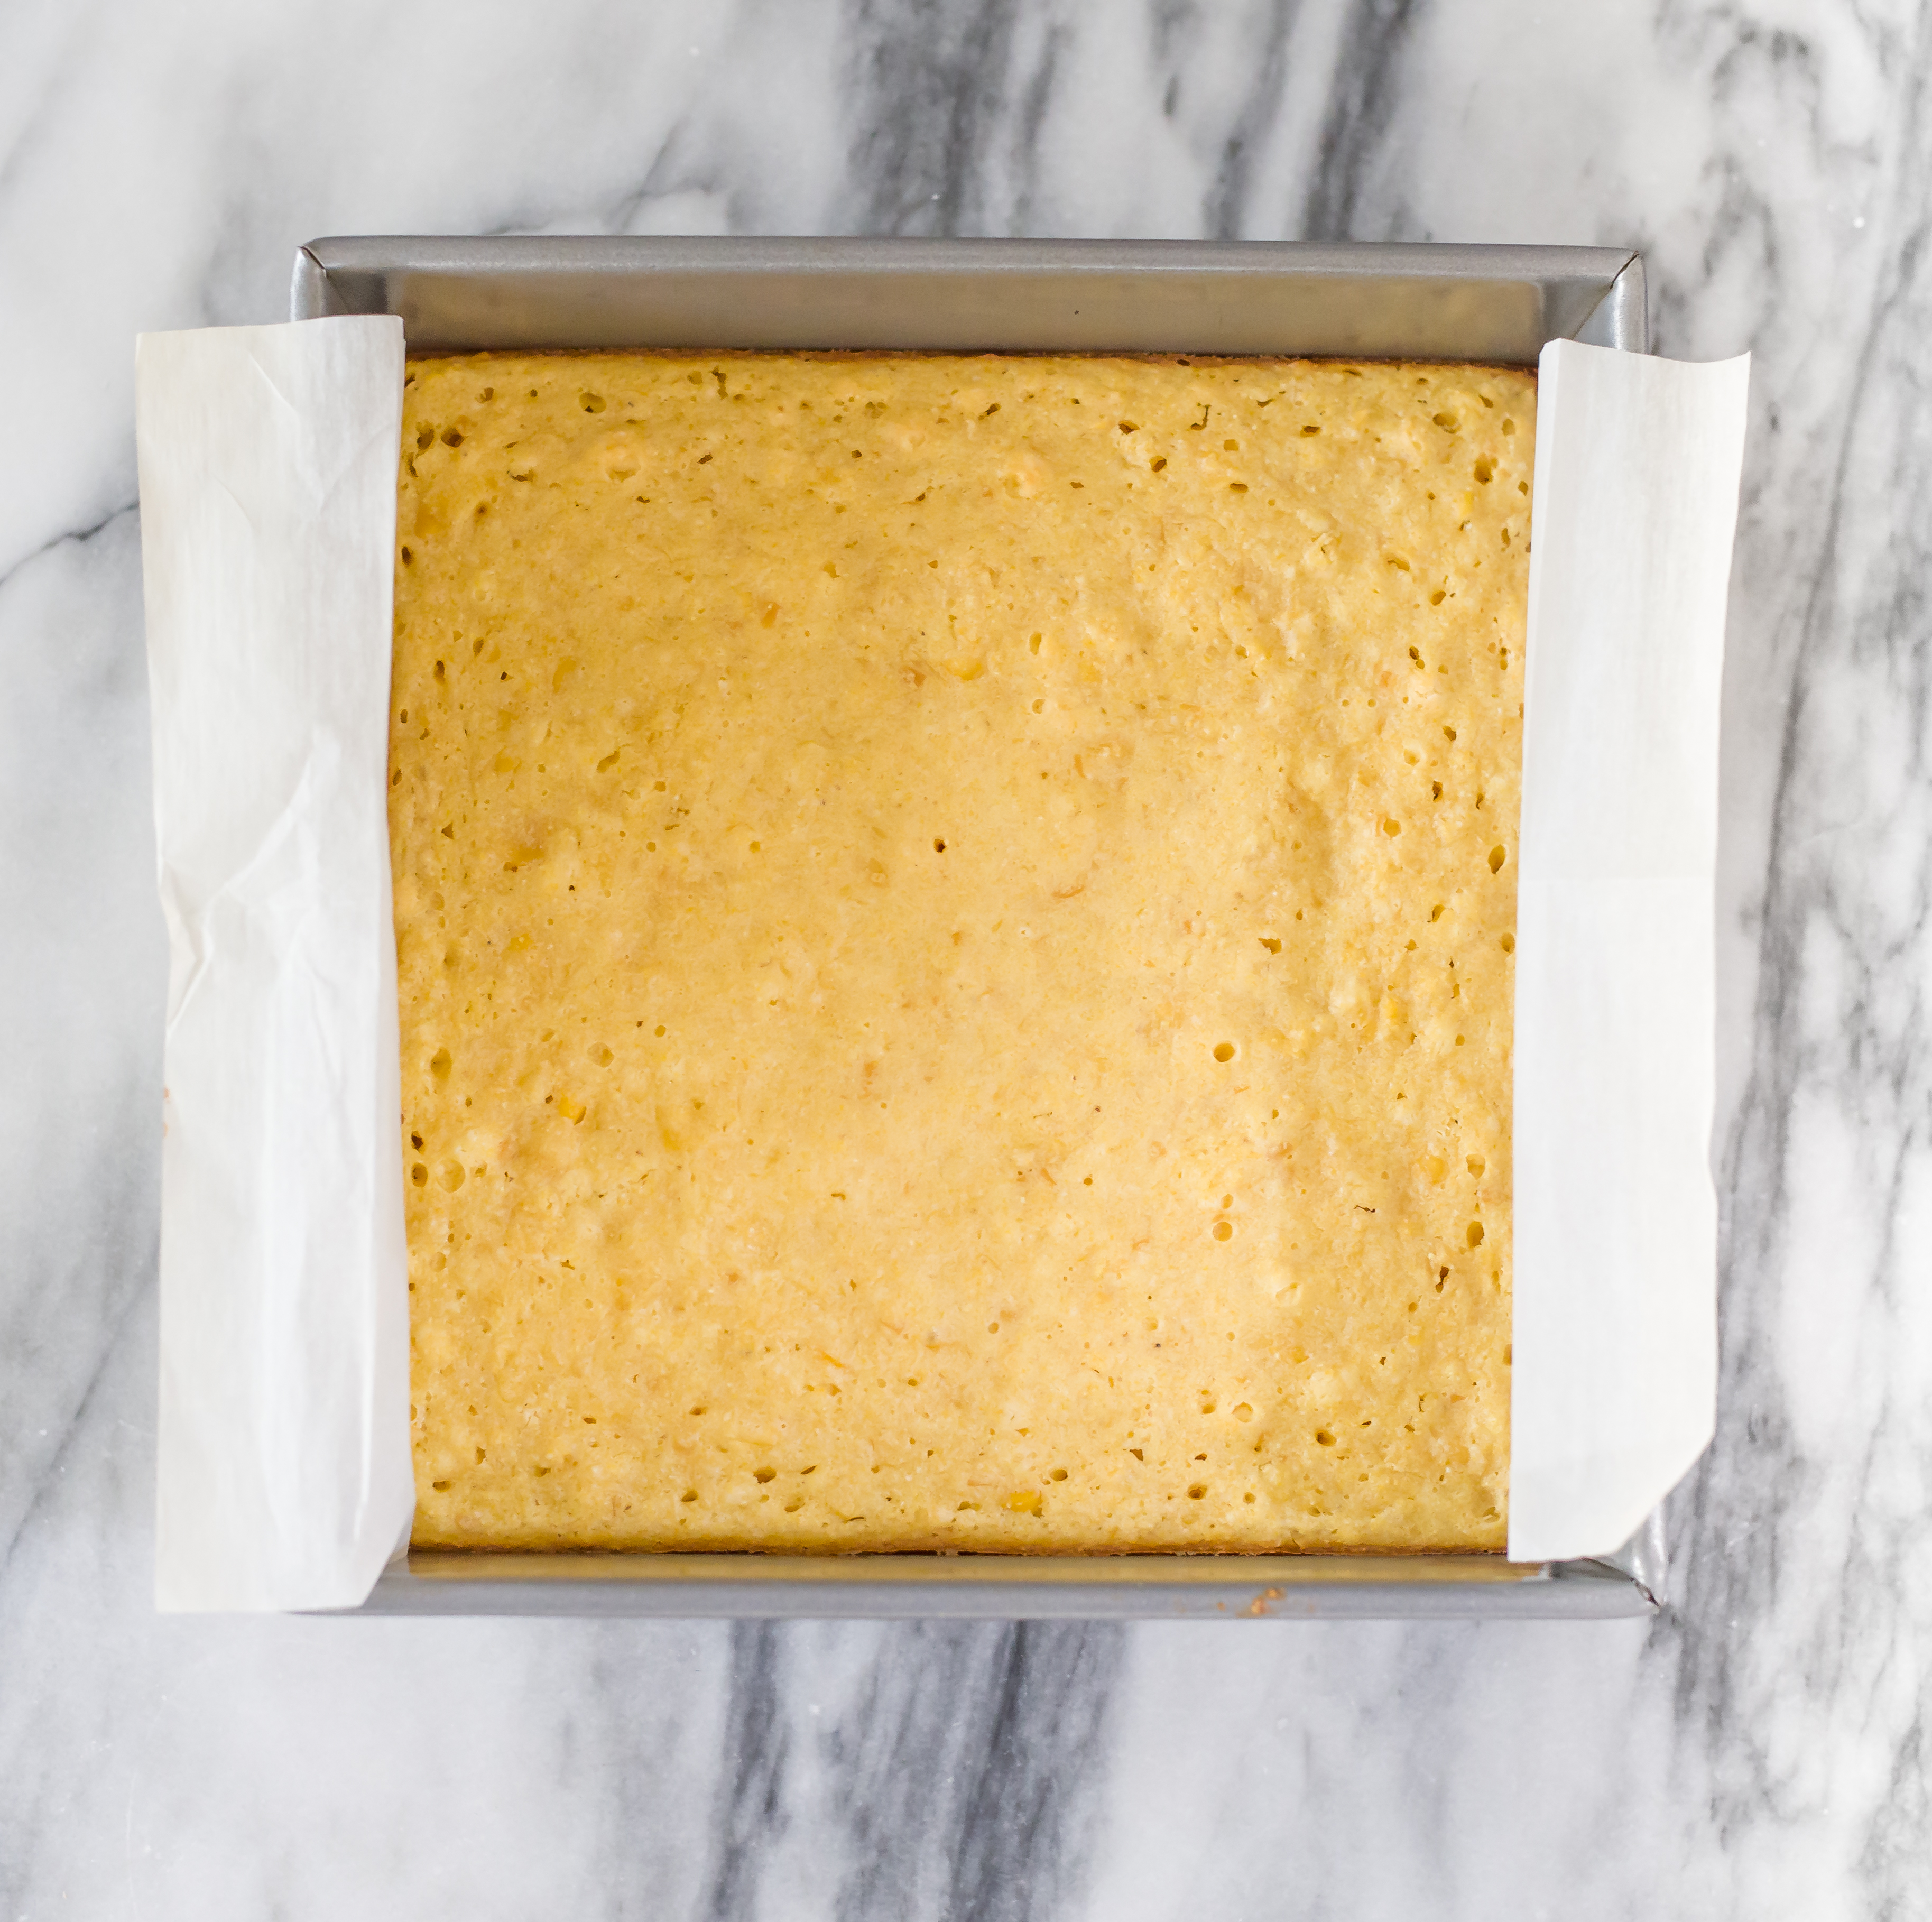
This easy cornbread recipe uses a box of Jiffy corn muffin mix, a can of cream of corn, and an egg. That’s it. It’s so easy and you can make it a day or two in advance for a summer barbeque or thanksgiving. During the pandemic, I’ve been using more pantry ingredients and Jiffy corn muffin mix and a can of creamed corn will both last a long time in your pantry.

Surprisingly, cream of corn is dairy free and the main ingredients are chopped corn, cornstarch and sugar. I try to use non-gmo brands, but any brand will work in this recipe. Creamed corn is my secret ingredient, so I don’t recommend substitutions. Especially, since it helps provide a fresh sweet corn flavor and keeps the cornbread moist, while adding some texture with chopped up bits of corn.

While you can put this mix in muffin tins, I like using an 8×8 baking dish, greasing it with vegan butter, and adding parchment paper to make it easier to remove the cornbread from the pan. Then I chop it up in squares and store it in the fridge or serve it.

Easy Cornbread
 
Prep time
Cook time
Total time
 
Author:
Serves: 8
Ingredients
  • 1 box of jiffy corn muffin mix
  • 1 egg
  • 1 can of creamed corn
  • 1 tbsp earth balance vegan butter
Instructions
  1. Preheat oven to 400 degrees.
  2. Cut parchment paper to fit bottom and sides of 8x8 baking dish.
  3. Then grease baking dish with vegan butter and add parchment paper on top.
  4. Mix egg in a stand mixer or handheld mixer.
  5. Then mix in the can of creamed corn.
  6. Then slowly mix in the jiffy corn muffin mix.
  7. Then pour mix into baking dish and cook for 20-25 minutes.
  8. Use a toothpick in the center and if it comes out clean you are finished baking.
  9. Let it completely cool and remove it from pan and cut into squares before serving.

Scrambled Eggs for Two

scrambled eggs for two

Sunday brunch is Portuguese sausage and scrambled eggs with a side of cantaloupe. I usually rotate the protein and fruit for easy meal planning. Today was a healthy paleo friendly breakfast, but if I feel like indulging, I will fry up some frozen hash browns from Trader Joe’s in a little bit of olive oil to go with my scrambled eggs. I also like sprinkling Everything But The Bagel Seasoning (also from Trader Joe’s) over my eggs if I’m in the mood for the taste of an everything bagel without the carbs.

I prefer my scrambled eggs fluffy, but not creamy or oily, so I only add water and a pinch of salt and tend to overcook them. That is my personal preference, but I know everyone tends to have their own egg preferences. Feel free to leave a comment about your own method for scrambled eggs.

Scrambled Eggs for Two
 
Prep time
Cook time
Total time
 
Author:
Serves: 2
Ingredients
  • 4 eggs
  • 2 tbsp water
  • 1 tsp of olive oil
  • pinch of sea salt or to taste
Instructions
  1. Grease nonstick pan with olive oil and turn on medium to low heat
  2. Scramble eggs, water, and a sprinkle of sea salt with a fork in a separate bowl
  3. Pour bowl contents into pan
  4. Then mix with a spatula until cooked to desired firmness usually only a few minutes

shop this post

Instant Pot Jasmine Rice

instant pot jasmine rice

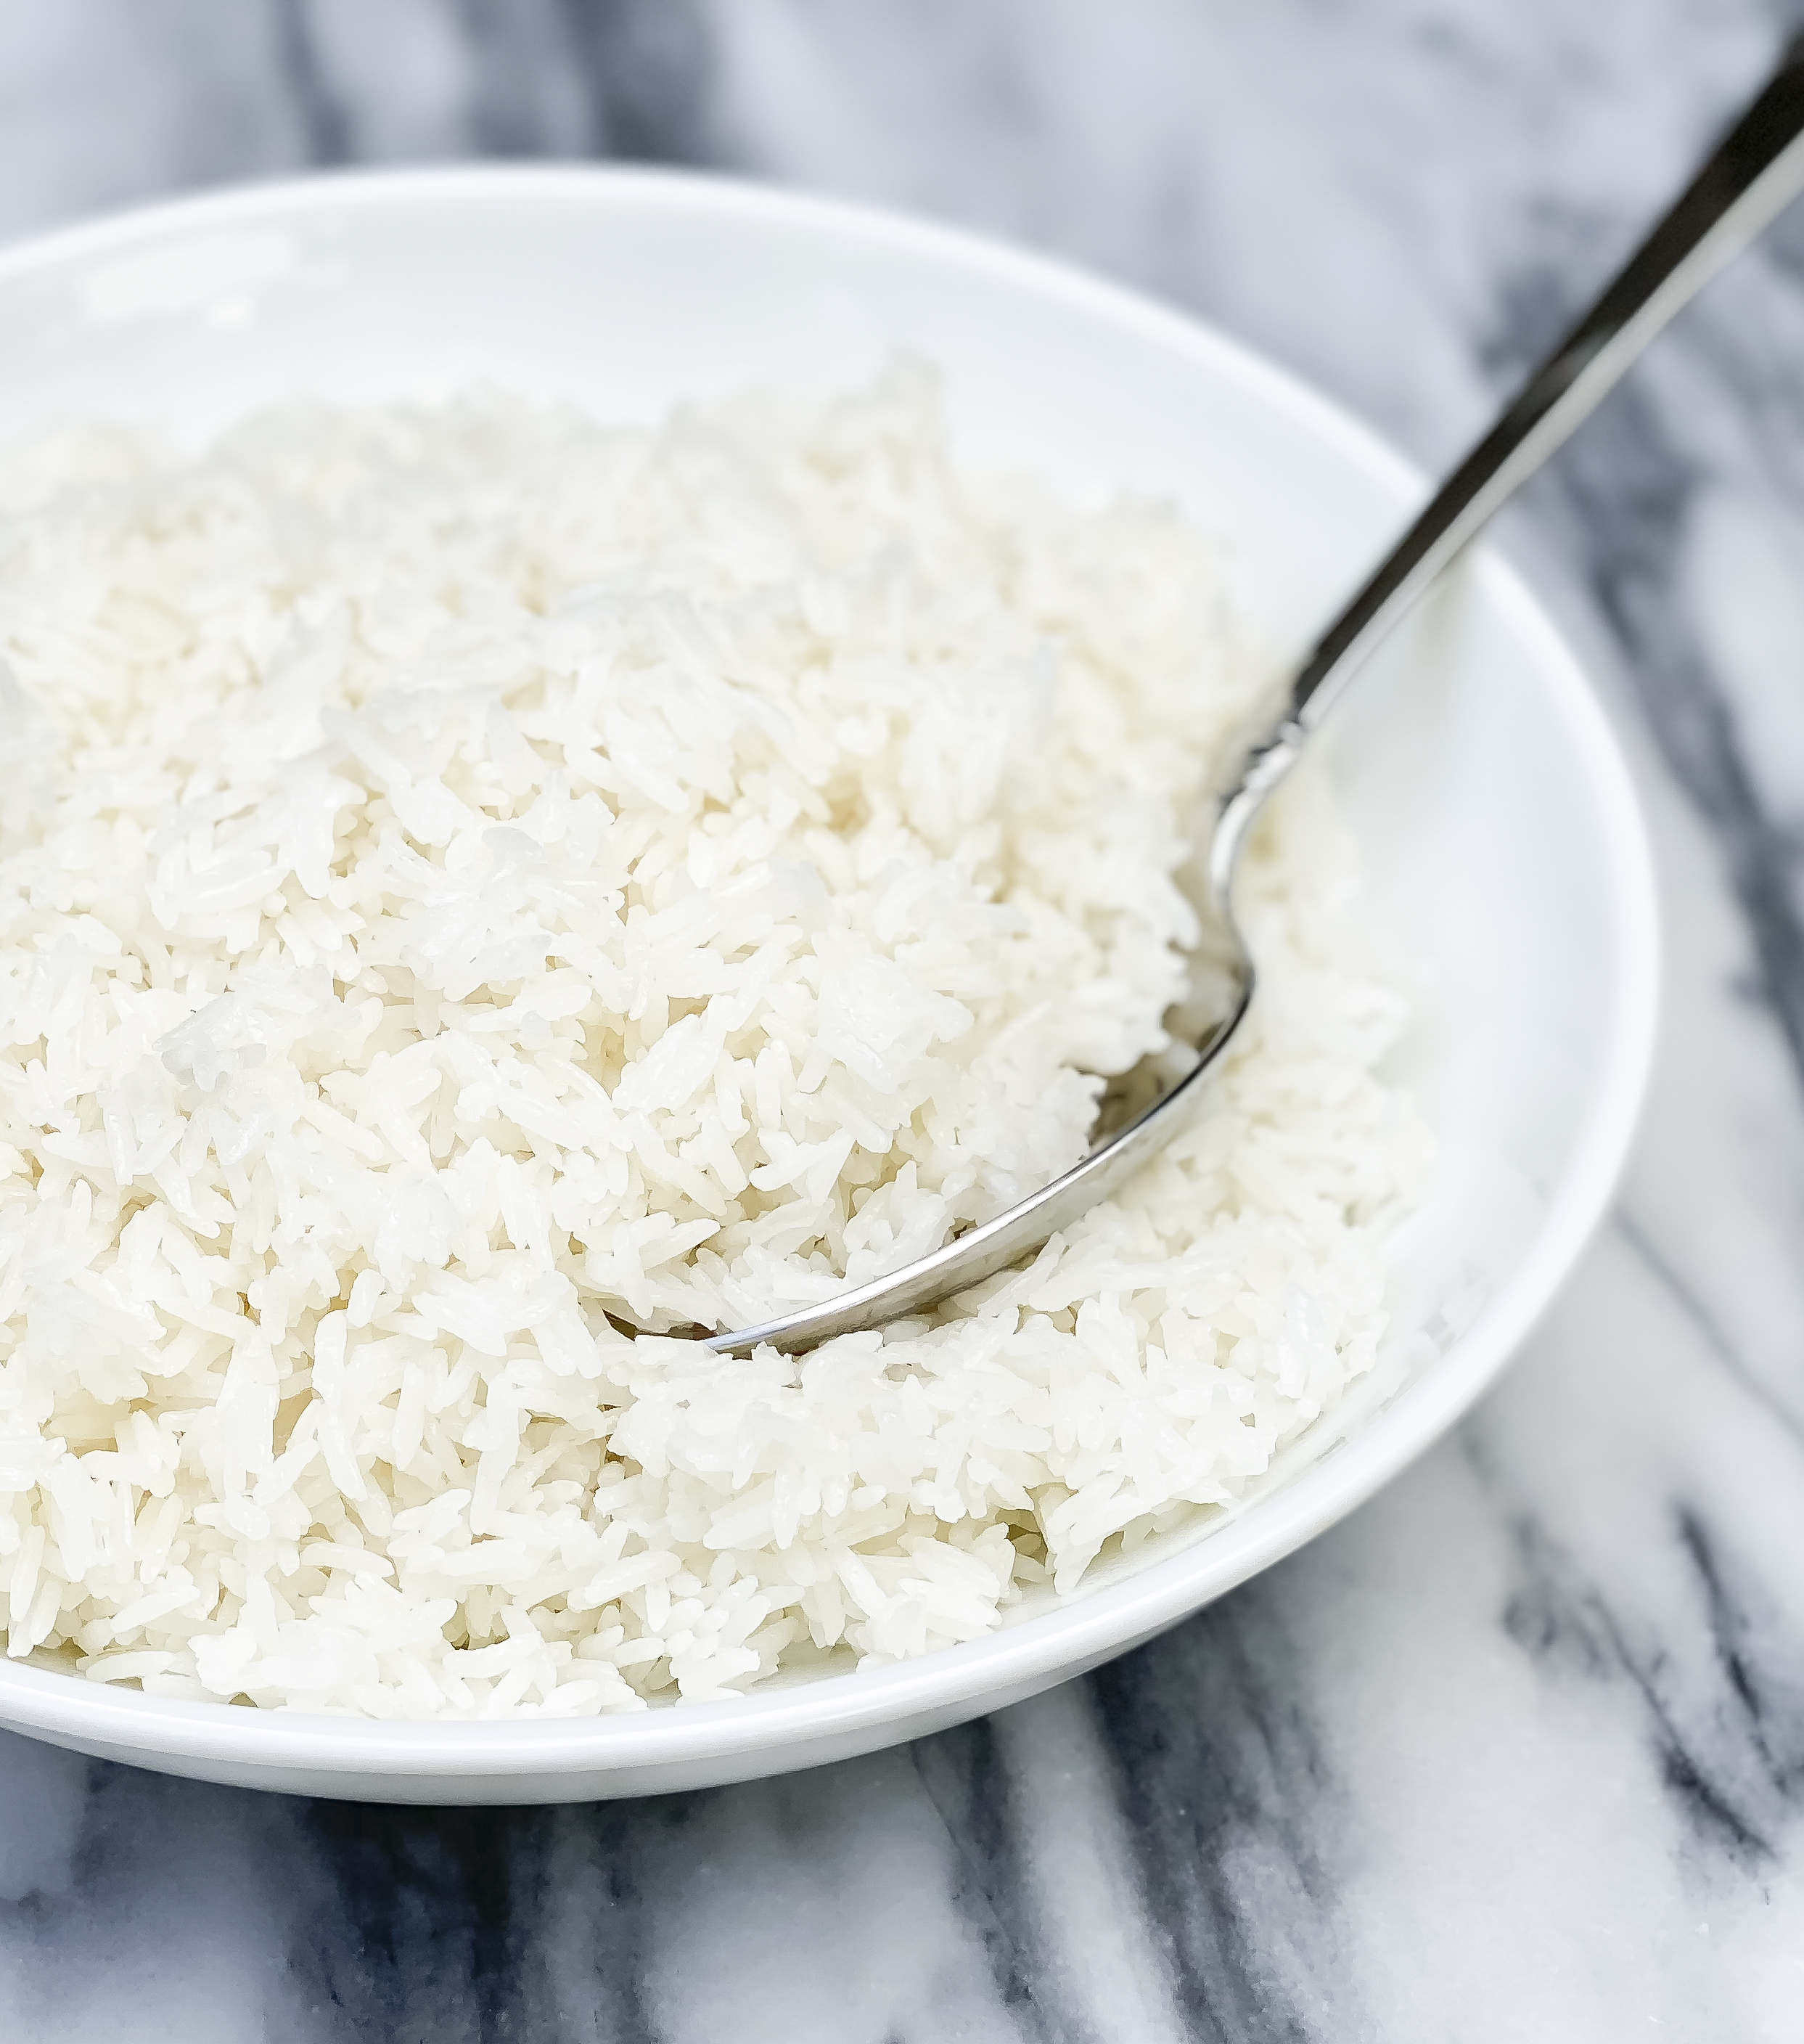
Jasmine rice is so easy to make in the instant pot. This recipe is gluten and dairy free and a great addition to my curry and stir fry recipes. Don’t alter the measurements for less rice, or you might end up with a burned instant pot. I’m always happy to have leftovers for meal planning anyway. Many recipes recommend rinsing rice at least once, but I’m lazy and impatient so I don’t. You can if you want, but if you skip it, don’t stress the extra step.

If you are having problems with digestion, white rice is bland and easy to digest, gluten free, low in fiber, and rice is the only grain that doesn’t cause gas. I’ve been dealing with acid reflux issues and heartburn lately so anything bland and easy to cook is very welcome.

Instant Pot Jasmine Rice
 
Prep time
Cook time
Total time
 
Author:
Serves: 4
Ingredients
  • 2 cups of jasmine rice
  • 2 cups of water
Instructions
  1. Add ingredients to instant pot.
  2. Push down all grains of rice so they are submerged in water.
  3. Press rice button on the instant pot or 12 minutes on low pressure.
  4. Use quick release when done cooking.
Notes
Do not alter measurements for less rice. It will throw off the cooking time and you could end up with a burnt instant pot.

Tropical Hibiscus Iced Tea

tropical hibiscus iced tea

This tropical hibiscus ice tea is an easy beverage to make that helps you stay hydrated in this crazy heat. I bought my hibiscus tea blend from my local farmer’s market, but you can also find it online with this link. What I love about this blend is that it also contains dried fruit in addition to hibiscus leaves, such as dried pineapple, apricot, peach, papaya and cranberry, which help gives the tea it’s tropical summer flavor.

To steep my tea, I use this steeper from Cuisinart. It’s cheap, well made, and I’ve put it in the dishwasher with no problems. Filling it to capacity is about 2 tbsp of loose tea. Since I let it simmer and steep for so long, it will flavor 8 cups of water, which is enough to fill my favorite glass pitcher. Make sure your tea is completely cool before pouring it into the pitcher for safety.

Tropical Hibiscus Iced Tea
 
Prep time
Cook time
Total time
 
Author:
Serves: 8
Ingredients
  • 8 cups of water
  • 2 tbsp of hibiscus tea blend
  • 3 tbsp of honey
Instructions
  1. Pour eight cups of water into a medium sized pot, then turn on heat to high and bring to a simmer.
  2. While the water heats, add 2 tbsp of your favorite loose hibiscus tea mix to your tea steeper.
  3. Then add tea steeper to pot. Lower heat so it simmers for 5 minutes, add 3 tbsp of honey.
  4. Then turn off heat and let tea steep and liquid come to room temperature for safety when pouring into a pitcher.
Notes
You can sub 3 tbsp of cane sugar for 3 tbsp of honey

shop-this-post

A Health and Wellness Blog