Category Archives: Desserts

Pumpkin Ice Cream

Pumpkin Ice Cream - Healing and Eating

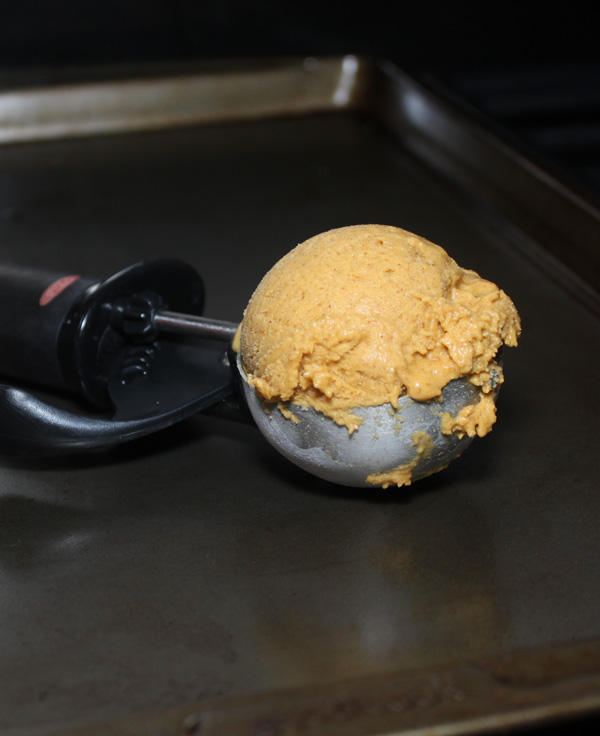
October in LA is still pretty warm, so what better way to celebrate the fall than a paleo and vegan friendly pumpkin ice cream. I naturally sweetened this recipe with dates, and used full fat coconut milk to make it dairy free. I also used a pumpkin pie spice blend from Frontier, which is just a mix of cinnamon, ginger, cloves, and nutmeg. The end result is an ice cream that tastes just like pumpkin pie filling.

Since this recipe was so thick and creamy, I shortened the amount of time in my ice cream maker by half. I do recommend a high speed blender, since I used dates as a sweetener and you want them completely blended. Dates are one of my favorite ways to sweeten up an ice cream, because they also provide fiber. Not only is fiber great for your health, but it thickens up the ice cream. A thick and creamy ice cream base, means a better end result. I’ve found that the more fiber and fat in the ice cream, the better. The pumpkin puree also provided fiber, so I used less coconut milk than I’ve used in previous recipes.

Pumpkin Ice Cream
 
Prep time
Cook time
Total time
 
Author:
Serves: 6
Ingredients
  • 1 can of full fat coconut milk 13.5 oz (native foods)
  • 16 oz pumpkin puree
  • 19 dated, pitted (.79lbs)
  • 2 tsp pumpkin pie spice (froniter blend)
Instructions
  1. Pit dates, and add them to a high speed blender with coconut milk, pumpkin puree, and pumpkin pie spice blend.
  2. Let it refrigerate a couple hours, overnight is ideal.
  3. Then pour base into ice cream maker and follow ice cream maker's instructions. I let mine run for 12 minutes.
  4. Then transfer ice cream to a container for five hours, ideally refrigerate overnight. Then enjoy.
Save

Save

Save

Save

Watermelon Popsicles

Watermelon Popsicles - Healing and Eating

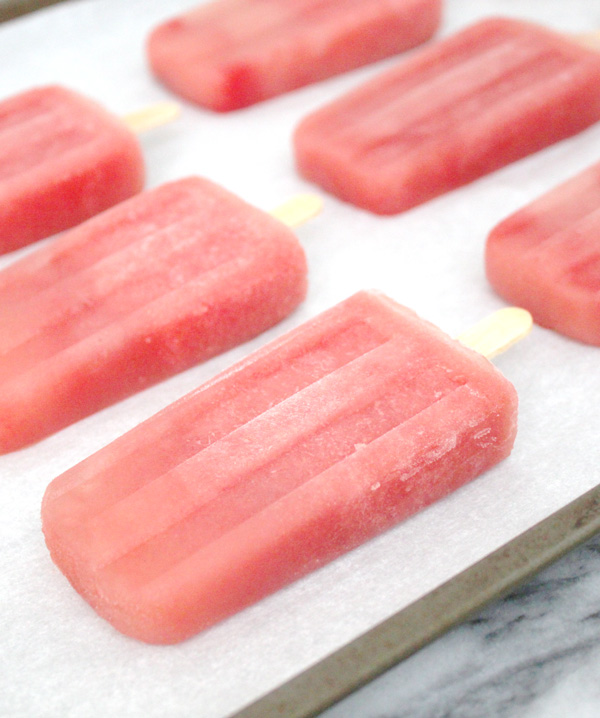
When summer gives you too much watermelon, make watermelon popsicles! With no sugar added, and just one ingredient, these beauties are super healthy and refreshing treat on a hot summer day. I used seedless watermelons and removed the small white seeds even though a few ending up in the popsicles wouldn’t be a disaster. If you want to get fancy, you can add some lime or mint to them but I honestly don’t think it’s necessary. In season watermelons are delicious on their own, and when frozen taste even better.

You could easily make a bunch of these ahead of time if you are entertaining and store them in the fridge until its time to serve dessert. Or eat them all day long yourself, which is what I end up doing.

Watermelon Popsicles
 
Prep time
Cook time
Total time
 
Author:
Serves: 12 popsicles
Ingredients
  • 1 seedless watermelon
Instructions
  1. Chop ¾ watermelon into small pieces so you can pick out the seeds.
  2. Puree chopped watermelon in a blender until smooth and pour mixture into popsicle molds.
  3. Add craft sticks to mold, and let it freeze overnight.

Save

Save

Save

Coconut Basil Ice Cream with Strawberry Sauce

Coconut Basil Ice Cream with Strawberry Sauce - Healing and Eating

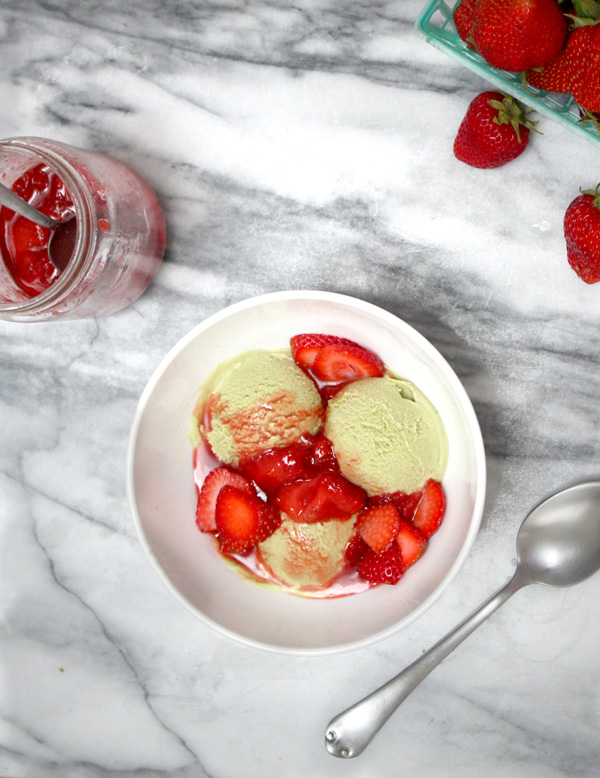
If you love strawberries, then you will love this coconut basil ice cream with strawberry sauce. It’s paleo friendly and naturally sweetened with honey. With strawberries now in season, this guilt-free dessert is especially good. I’ve also eaten it without the strawberry sauce and just added some chopped strawberries on top instead. But honestly, a freshly made strawberry sauce makes every dessert taste better, and my husband (who is also my official taste tester) agreed.

I’m really happy with the way this dessert came out, and the ingredients are so healthy you could even eat this for breakfast. Which I just did 🙂 In all seriousness, this recipe was a tricky one that required a lot of trial and error and me eating a lot of green ice cream. My first batch did not have enough basil, but this batch has a nice subtle basil flavor that tastes amazing with strawberries. The coconut cream and avocado are mostly there for texture and color so don’t be put off by them. You also can taste a nice honey flavor, which is what I used for my sweetener, so make sure you use a really high quality honey.

Coconut Basil Ice Cream with Strawberry Sauce
 
Prep time
Cook time
Total time
 
Author:
Serves: 8
Ingredients
  • 2½ cups of full fats coconut milk
  • 1 cup of avocado
  • ½ cup of creamy wildflower honey (for ice cream)
  • 1 cup of chopped basil
  • 3 tbsp creamy wildflower honey (for sauce)
  • juice from ½ lemon
  • 1 cup of chopped strawberries
Instructions
  1. In a high speed blender, add coconut milk, avocado, ½ cup of honey, and chopped basil. Blend until smooth.
  2. Then add mixture to ice cream maker, follow your ice cream maker instructions.
  3. Transfer mixture from ice cream maker to a large container and then freeze overnight.
  4. Chop strawberries, then transfer to a pan with 3 tbsp of honey, and the juice from ½ lemon. Cook on medium heat for 10-15 until some of the liquid is cooked off.
  5. Transfer strawberry sauce to a container and keep in fridge overnight or until sauce has cooled down and thickened up.
  6. Let ice cream sit out for 10-15 minutes so it is easier to scoop, then add strawberry sauce on top.
  7. (optional) Garnish with some extra freshly chopped strawberries.

Easy Vegan Dark Chocolate Truffles

Easy Vegan Dark Chocolate Truffles - Healing and Eating

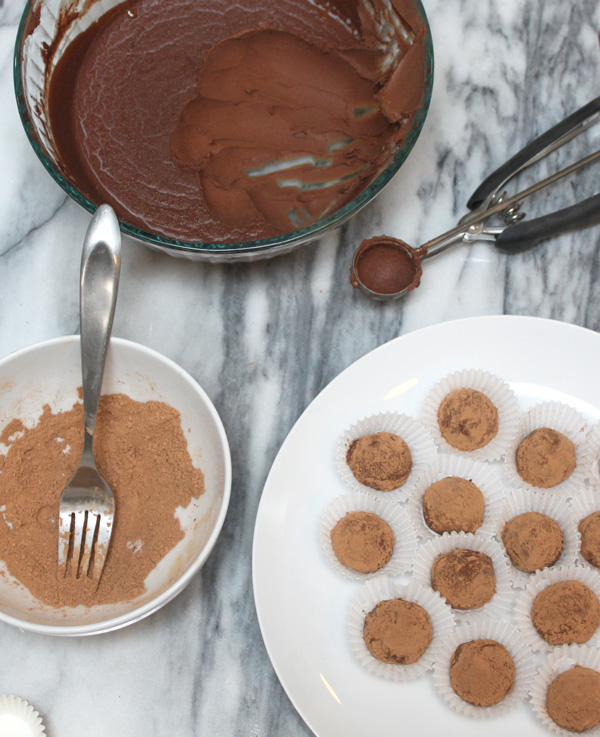
These vegan dark chocolate truffles are really easy to make and will be sure to impress your loved ones. They contain only three ingredients, vegan dark chocolate chips, full fat coconut milk, and cacao powder for the coating. I melted the chips and coconut milk together in a double boiler and boom … deliciousness. Seriously, this would make an amazing gift for Valentine’s Day or could be a fun date night at home.

You could get creative with the coating as well, I used cacao powder, but you could roll them in finely chopped hazelnuts or pecans. Or even in some shredded coconut or powdered sugar. Feel free to get creative, and let me know in the comments if you have a great idea for the coating.

Easy Vegan Dark Chocolate Truffles
 
Prep time
Cook time
Total time
 
Author:
Serves: 24-30 truffles
Ingredients
  • 1 can (13.5 fl oz) of full fat coconut milk (native forest*)
  • 1 bag (10 oz) of bittersweet chocolate chips (equal exchange chocolates*)
  • ¼ cup of cacao powder (for coating)
Instructions
  1. In a double boiler, melt together chocolate chips and coconut milk until smooth and creamy.
  2. Allow it to cool for a half hour to an hour before moving it into the fridge to cool for another 2-4 hours.
  3. Then with a small cookie scoop (2 tbsp) scoop fudgy goodness and roll in cacao powder and place in paper liners or eat immediately. Enjoy!
Notes
*both brands are organic
*store in refrigerator to maintain ideal texture and firmness.

Nonni’s Pizzelles

Nonni's Pizzeles - Healing and Eating

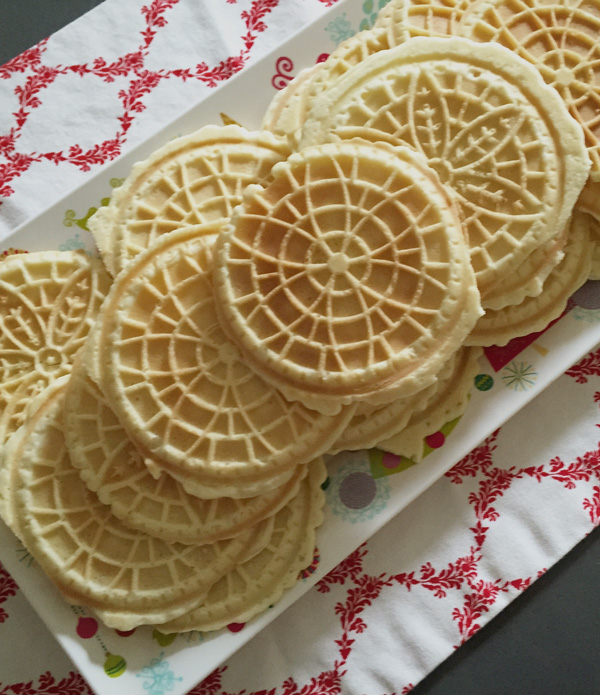
This is the first recipe I made in my new kitchen. Our first night at the apartment was Christmas Eve, and I desperately wanted some homemade Christmas cookies. I tried to stay as close to Nonni’s recipe as possible, so I only substituted regular flour for white rice flour to make them gluten free. This was the first time I tried this type of flour and although it wasn’t grain free, it made for a seamless and easy gluten-free substitution. I also split the batter in half and used a tsp of vanilla extract in one half, and a tsp of anise extract in the other. I like both flavors, but my husband, and generally most people prefer the vanilla. You can also sprinkle some confectionery sugar over the top to make it look pretty, but that’s optional.

Nonni's Pizzelles
 
Prep time
Cook time
Total time
 
Author:
Serves: 25-30 cookies
Ingredients
  • 6 eggs
  • 1.5 cups of sugar
  • 1 cup of non-gmo canola oil
  • 3.5 cups of white rice flour
  • 1 tsp vanilla extract
  • 1 tsp anise extract
Instructions
  1. In a large bowl, beat eggs, canola oil, and sugar.
  2. Then slowly add white rice flour, while using a hand mixer on a low setting to mix in flour.
  3. Divide batter in half, and add 1 tsp of vanilla extract to one half, and 1 tsp of anise extract to the other.
  4. Follow directions on pizzelles iron. Spoon batter (about 2 tbsp) onto iron and do a test to see if it is the right amount of heat and browns pizzelles just a bit, and if you need more or less batter to get a nice looking circle.
  5. Place finished pizzelles on a cookie rack to cool. Do not stack pizzelles when warm or hot, let them cool completely first, and get crispy and firm before stacking.

Coffee “Caramel” Ice Cream

Coffee "Caramel" Ice Cream - Healing and Eating

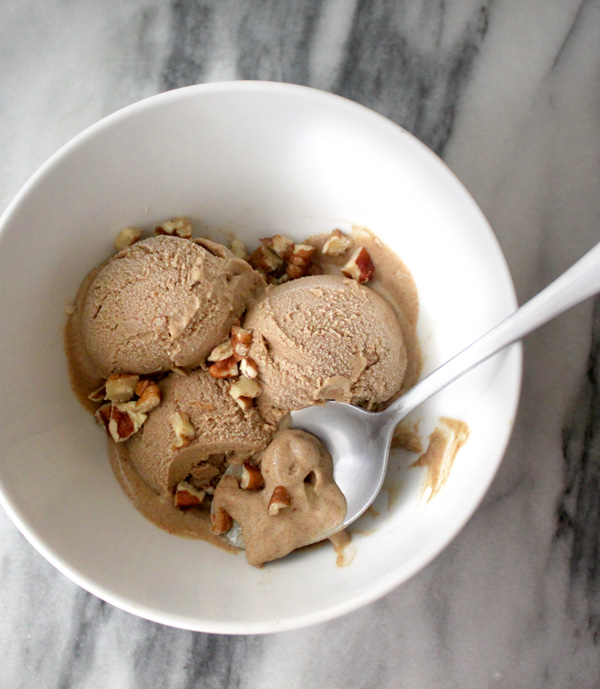
This dairy free coffee “caramel” ice cream is an easy vegan recipe made with coconut milk, dates, instant coffee, and vanilla extract. Sprinkle a little sea salt over the top, for a salted “caramel” flavor, or add some chopped pecans for some crunch. The dates make a healthy caramel flavor substitute, and are also used to sweeten the ice cream. I kept the coffee flavor mild (although feel free to make it strong), since this was my first time experimenting with instant coffee. I used Medaglia D’Oro Instant Espresso Coffee and I’m very happy with the way it dissolved. The amazon reviews also say it’s good for baking, which is great for bringing out the flavor of chocolate in dessert.

Although I wouldn’t consider coffee a health food, I do love the flavor of coffee in dessert. However, this recipe would taste just as delicious without the instant coffee, but I do think it adds another layer of flavor. I made the ice cream extra sweet to combat the bitter flavor of the coffee, so I’d reduce the amount of dates if you aren’t going to use the instant coffee.

Coffee "Caramel" Ice Cream
 
Prep time
Cook time
Total time
 
Author:
Serves: 1 quart
Ingredients
  • 3 cups of coconut milk full fat
  • 2 tbsp instant espresso coffee (Medaglia D’Oro)
  • 2 tsp vanilla extract
  • 18 medjool dates
  • (optional) ½ cup of chopped pecans (for topping)
  • (optional) a pinch of sea salt (for topping)
Instructions
  1. Combine coconut milk, instant espresso coffee, and vanilla extract in a pan over low heat.
  2. Cook until coffee dissolves and the the alcohol from the vanilla extract evaporates. Approximately five minutes. Taste test to be sure.
  3. Transfer mixture to a high speed blender.
  4. Remove pits from dates, then add dates to blender and blend on high speed.
  5. Refrigerate mixture for a couple hours at least, preferably overnight. (I did a rushed version with a few hours in the refrigerator and it worked fine).
  6. Follow directions according to your ice cream maker.
  7. When it is the consistency of soft serve, transfer to a large container and freeze overnight, or eat it all as soft serve.
  8. (optional) add chopped pecans and some sea salt when ready to serve.