Category Archives: Desserts

Gluten Free Sugar Cookies

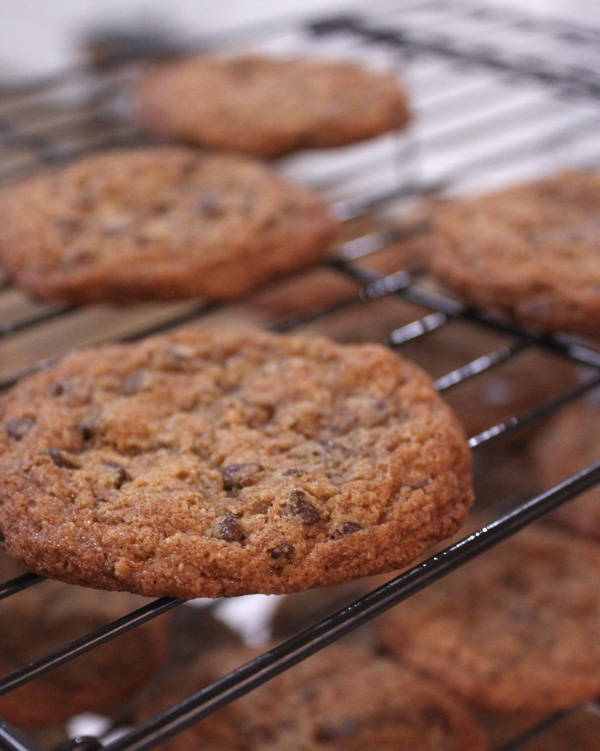
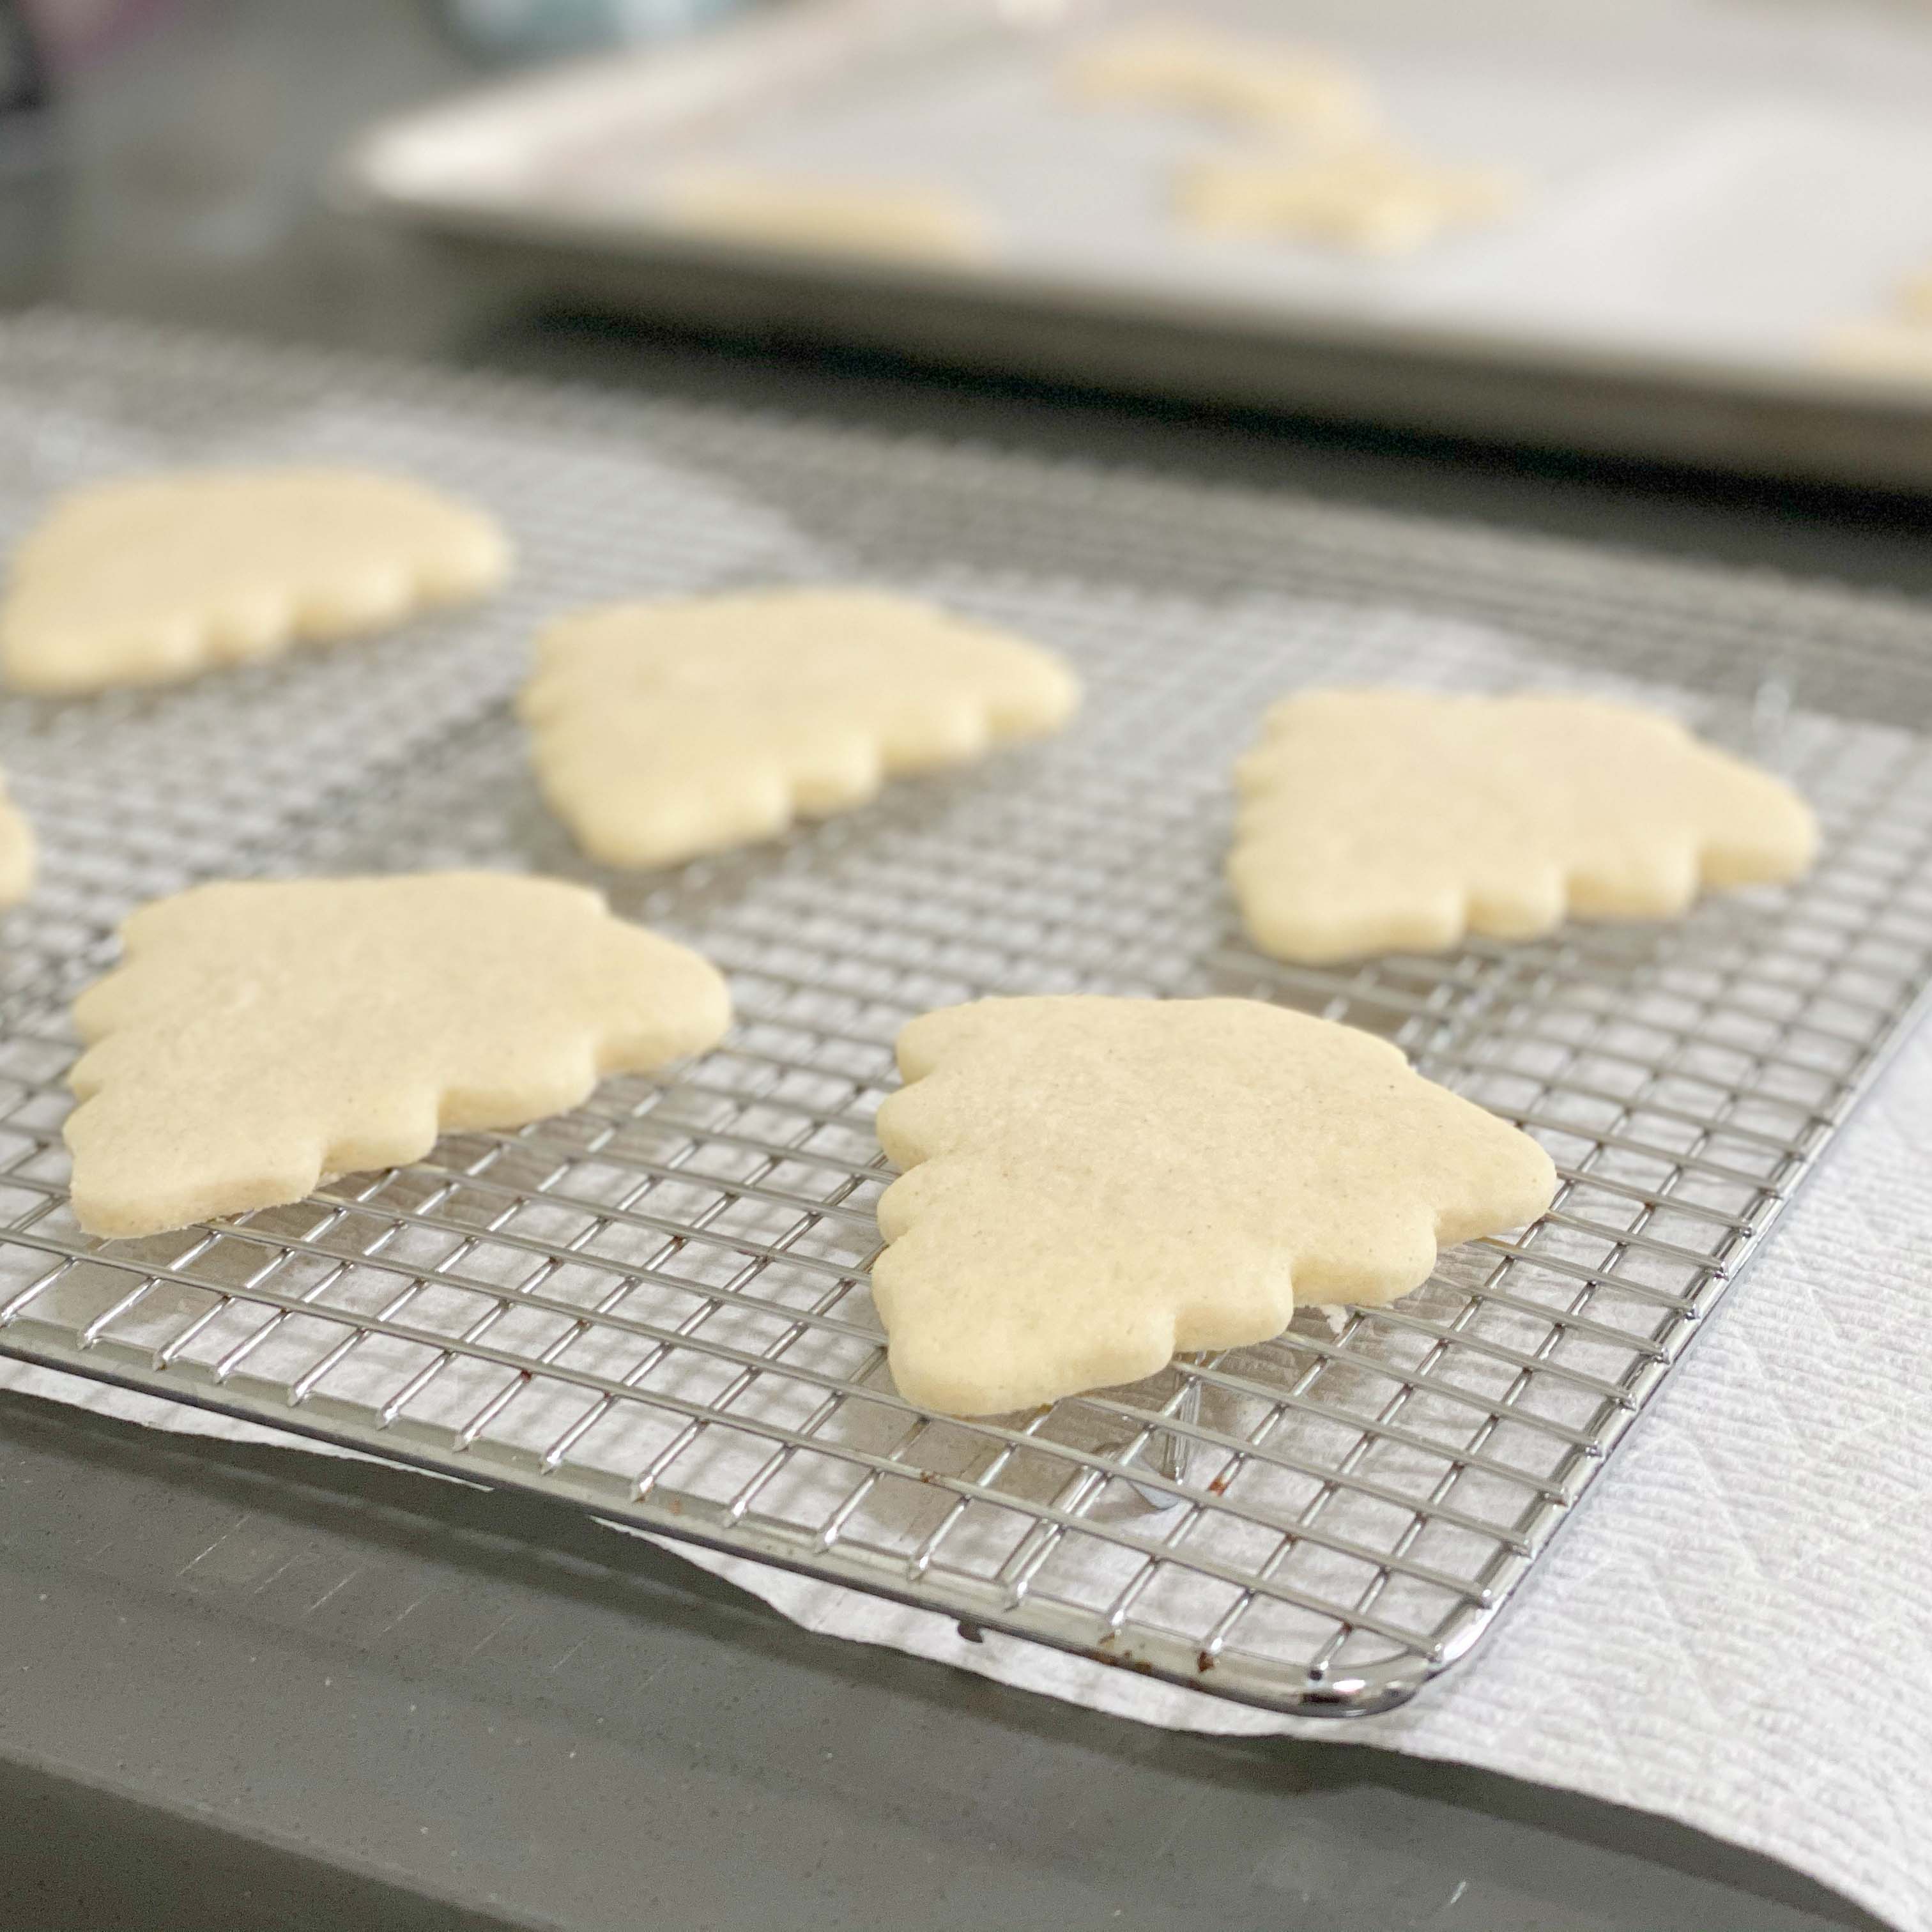
These gluten free sugar cookies are made with vegan butter to make them dairy free as well. I used Bob’s Red Mill Gluten Free 1 to 1 Baking Flour and Earth Balance unsalted buttery sticks. The flavors taste just like I remember from making Christmas cookies with my Mom growing up. A word of caution, these cookies were very delicate and crumbled easily until I got some vegan buttercream frosting on them. Handle them with care and let them rest for at least five minutes when they get out of the oven. After frosting them with vegan buttercream, they were durable enough and nice and tender when eating. I also recommend the OXO fish spatula to remove delicate cookies from a pan.

My favorite shapes ended up being the Christmas tree. It was the easiest to cut out and decorate and green is one of my favorite colors. I made stockings and stars too, but the trees were the cutest. Overall, I’m really happy to finally have a healthy-ish sugar cookie recipe that tastes authentic.

Gluten Free Sugar Cookies
 
Prep time
Cook time
Total time
 
Author:
Serves: 30 cookies
Ingredients
  • 3 cups of gluten free flour (Bob's Red Mill Gluten Free 1 to 1 Baking Flour)
  • 1.5 tsp baking powder
  • 1 cup vegan butter (earth balance unsalted buttery sticks)
  • 1 cup of granulated sugar
  • 1 egg
  • 1 tsp vanilla extract
  • ½ tsp sea salt
Instructions
  1. Cream butter and sugar until light and fluffy.
  2. Add eggs and vanilla. Mix well.
  3. Mix dry ingredients and add a little at a time to vegan butter mixture.
  4. Mix until flour is completely incorporated and the dough comes together.
  5. Chill for 1 to 2 hours.
  6. Roll dough to desired thickness or ¼ inch and cut into desired shapes.
  7. Bake on baking sheet lined with parchment paper at 350 degrees for 8 to 10 minutes or until just beginning to turn brown around the edges.

Chocolate Chip Cookies

Chocolate Chip Cookies - Healing and Eating

I’ve been baking chocolate chip cookies like crazy, trying to come up with the perfect paleo friendly chocolate chip cookie recipe. Let me tell you it has not been easy. I still might tweak this recipe a bit, but I’ll update the website if I try something new I like better.

I used to follow the traditional Nestle chocolate chip cookie recipe, before I starting following a healthier diet, and I totally rocked at making chocolate chip cookies. So, my expectations for what it should taste and look like are pretty high. These tasted how I wanted them too, even with the substitutions, but they were very finicky with spreading and over browning.

To reduce spreading I also used a higher temperature and shorter cooking time, and I also chilled it in the freezer for a half hour and then moved the cookie dough to the fridge as I was baking, so the dough would stay nice and firm. I also tried stacking two scoops of cookie dough on top of one another so it created a larger cookie, which I’m happy to say turned out pretty well. Plus, who doesn’t like a larger cookie. My scoops were two tsp each, so when I doubled up the cookie dough it was four tsp total.

I also found that the higher temperature made the edges brown and crispy and left the middle gooey, which is how I like it. I also like my chocolate chip cookies a bit underdone, but you can easily let it cook a bit longer if that is your personal preference.  I plan on continuing my quest for the perfect paleo chocolate chip cookie, but I’m liking my results so far, so I thought I would post my progress, and of course my current recipe.

Chocolate Chip Cookies
 
Prep time
Cook time
Total time
 
Author:
Serves: 26
Ingredients
  • 2¼ cups of blanched almond flour
  • 1 tsp baking soda
  • 1 tsp salt
  • 1 cup of palm oil (vegetable shortening)
  • 1½ cups of coconut sugar
  • 1 tsp vanilla extract
  • 2 large eggs
  • 1½ cups of enjoy life chocolate chips (mini)
Instructions
  1. Preheat oven to 400 degrees.
  2. Combine almond flour, baking soda and salt in small bowl.
  3. Beat palm oil, coconut sugar and vanilla extract in large mixer bowl until creamy, about 30 seconds. (If it fails to get creamy, use your hands to mix, which helps incorporate less air than a mixer)
  4. Add eggs, one at a time, beating well after each addition.
  5. Gradually beat in flour mixture.
  6. Stir in chocolate chips.
  7. Use a small cookie dough scoop (that measures 2 tsp) to spoon dough onto a parchment lined baking sheet and freeze indiviudaly for 30 minutes.
  8. Then move chilled dough to refridgerator, and bake 6 at a time at 400 degrees.
  9. For 2 tsp of cookie dough bake 8-10 minutes.
  10. For double the amount of dough (4 tsp) stack chilled cookie dough and bake for 11-13 minutes.
  11. When removing cookies from oven, put the cookie sheet on a cooling rack for 2-3 minutes to set cookies before moving them to the cooling rack. This will prevent them from breaking when you move them.
  12. Let cookies cool on cooling rack, and enjoy.

Save

Save

Save

Maple Pecan Apple Crisp

Maple Pecan Apple Crisp - Heailng and Eating

This maple pecan apple crisp is paleo and vegan friendly, and really easy to make. In fact, I think this may be my new favorite fall dessert. This recipe is naturally sweetened with maple syrup, and the crust is made with chopped pecans and almond flour.  In the future, I would serve it with some vegan vanilla ice cream, but it tastes just as good without. I used Fuji apples, since I had a ton of them in the fridge that needed to be used ASAP.

Overall, I’m really happy that this recipe turned out so well, and I will definitely be making more fruit crisps in the future. I’m thinking persimmons or pears might be next.

Maple Pecan Apple Crisp
 
Prep time
Cook time
Total time
 
Author:
Serves: 8
Ingredients
Filing
  • 5 peeled apples
  • 1 tbsp fresh lemon juice (half lemon)
  • ½ tsp vietnamese (saigon) cinnamon
  • ½ tsp arrowroot powder
Topping
  • 1 cup of chopped pecans
  • ¼ cup palm oil
  • ¼ cup maple syrup
  • 1½ cup of almond flour
  • 1 tbsp vanilla extract
  • ½ tsp vietnamese (saigon) cinnamon
  • ¼ tsp ground nutmeg
  • ½ tsp sea salt
Instructions
  1. Preheat over to 350 degrees.
  2. Peel and chop apples, and add them to a large mixing bowl.
  3. Squeeze lemon juice over apples, and mix until coated evenly.
  4. Sprinkle cinnamon and arrowroot powder over apples until coated evenly.
  5. Add apple mixture to a baking dish.
  6. In the food processor, chop pecans roughly, then transfer chopped pecans to the now empty large mixing bowl.
  7. Add almond flour, cinnamon, nutmeg, and sea salt to the food processor and pulse until distributed evenly.
  8. Add palm oil, maple syrup, and vanilla extract to the food processor and blend until smooth.
  9. Add mixture from food processor to mixing bowl with chopped pecans and mix all ingredients together.
  10. Smooth and pat topping mix over apples, cover baking dish with aluminum foil and bake for 45 minutes.
  11. Remove aluminum foil, to brown top and bake 10-15 minutes until topping is a desired golden brown.
  12. Let it cool for 20-30 minutes, before serving.

Save

Save

Marzipan Truffles

Marzipan Truffles - Healing and Eating

These marzipan truffles are made with homemade marzipan, and make a perfect holiday gift for the someone who loves chocolate and almonds. They are gluten and dairy free, and made with almond meal, so technically grain free too. They were actually really easy to make, and taste just like store bought ones. Every time we go to World Market, my husband searches out the chocolate covered marzipan, so I’m happy I can now make some that taste just as good.

Marzipan Truffles
 
Prep time
Cook time
Total time
 
Author:
Serves: 20 truffles
Ingredients
  • 1 roll of homemade marzipan (12 ounces)
  • 1 bag of enjoy life chocolate chips
  • (optional) sea salt flakes
Instructions
  1. Roll marzipan into ¾ inch balls, and then set aside on parchment paper.
  2. Using the double boiler method, melt chocolate chips.
  3. Then, roll balls in chocolate and let it sit and harden on parchment paper.
  4. (optional) Sprinkle sea salt flakes over truffles for a garnish.

Save

Save

Save

Save

DIY Marzipan

DIY Marzipan - Healing and Eating

Why buy marzipan when it is super simple to do it yourself. With Halloween right around the corner, my husband and I wanted to make some chocolate covered marzipan truffles, which is one of our favorite sweet treats. I will post this recipe next guys!

Marzipan is gluten and dairy free, so it’s great if you are allergic or sensitive to either of those things. Personally, my husband and I love anything almond flavored, so naturally marzipan has a special place in our hearts.

The recipe for DIY marzipan does contain confectioner’s sugar, which is obviously not ideal, but I wanted the same taste and texture that you would find in a grocery store. This recipe also contains a raw egg white as a binder, so if you are vegan this recipe isn’t for you. I don’t have an issue with raw eggs, since I make my own paleo friendly mayo all the time, and I like my eggs over easy for breakfast. That said, use common sense, like keeping the marzipan stored in the fridge or cook with it as soon as possible.

DIY Marzipan
 
Prep time
Cook time
Total time
 
Author:
Serves: 12 ounces
Ingredients
  • 1½ cups of confectioner's sugar (aka powdered sugar)
  • 1¾ cups almond flour
  • 1 egg white (from one egg)
  • 3 tsp of almond extract
Instructions
  1. Put the sugar and almond flour into the food processor, and pulse to mix and get rid of any clumps.
  2. Then, add in almond extract to food processor. Pulse to mix.
  3. Then, separate yolk and egg white, and add in egg white to food processor, and pulse until it turns into a dough.
  4. Then put dough onto wax paper, and kneed it until it forms a log shape.
  5. Then wrap marzipan log in plastic wrap and store in fridge, or use in cooking/baking.

Save

Pumpkin Ice Cream

Pumpkin Ice Cream - Healing and Eating

October in LA is still pretty warm, so what better way to celebrate the fall than a paleo and vegan friendly pumpkin ice cream. I naturally sweetened this recipe with dates, and used full fat coconut milk to make it dairy free. I also used a pumpkin pie spice blend from Frontier, which is just a mix of cinnamon, ginger, cloves, and nutmeg. The end result is an ice cream that tastes just like pumpkin pie filling.

Since this recipe was so thick and creamy, I shortened the amount of time in my ice cream maker by half. I do recommend a high speed blender, since I used dates as a sweetener and you want them completely blended. Dates are one of my favorite ways to sweeten up an ice cream, because they also provide fiber. Not only is fiber great for your health, but it thickens up the ice cream. A thick and creamy ice cream base, means a better end result. I’ve found that the more fiber and fat in the ice cream, the better. The pumpkin puree also provided fiber, so I used less coconut milk than I’ve used in previous recipes.

Pumpkin Ice Cream
 
Prep time
Cook time
Total time
 
Author:
Serves: 6
Ingredients
  • 1 can of full fat coconut milk 13.5 oz (native foods)
  • 16 oz pumpkin puree
  • 19 dated, pitted (.79lbs)
  • 2 tsp pumpkin pie spice (froniter blend)
Instructions
  1. Pit dates, and add them to a high speed blender with coconut milk, pumpkin puree, and pumpkin pie spice blend.
  2. Let it refrigerate a couple hours, overnight is ideal.
  3. Then pour base into ice cream maker and follow ice cream maker's instructions. I let mine run for 12 minutes.
  4. Then transfer ice cream to a container for five hours, ideally refrigerate overnight. Then enjoy.

Save

Save

Save

Save